
 If you are looking for a new way to make your house stand out in the neighborhood or if you want to create a classy looking entry to your driveway to improve curb appeal, then this project is probably just what you have been looking for in weekend hardscaping projects. It doesn’t take a lot of knowledge or experience to build a stone planter, but the results that you will get out of this simple Scituate home improvement project will really pay off and make a big difference.
All you need is a three-day weekend, your choice of masonry and filler materials, a few common landscaping tools and the guts to see it through. In fact, we’ve whittled the whole process down to just 10 easy steps. Then just fill with soil and plant some beautiful seasonal flowers. You’ll have a gorgeous stone planter that you can use year-round to brighten up and call attention to your home’s driveway.
Step One – Choose Your Materials
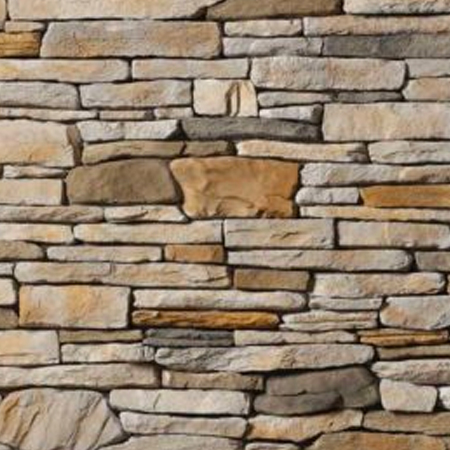
The first step is all about you, the architecture of your home and the style you are trying to achieve. Choose the type of stone materials that you are going to use by visiting J&J Materials. Make sure to tell the sales staff what you are planning to build and they will direct you some selections of natural stone pavers, concrete pavers, flagstone, blocks and other wall-building materials that will work best with this type of project. Make sure that the stones you choose have two flat surfaces for easier stacking and that the colors you choose will work well with the design of your current landscaping and home.
Step Two – Plot It Out
Take some time to look at the space where you want to build a stone planter to improve curb appeal and figure out how big you want it to be. This will depend on how much space there is for building at the end of your driveway. You can do a single planter or choose to add a second planter on the other side of the driveway for future weekend hardscaping projects if you don’t have time to build both right now. Make sure that the lines are parallel with the driveway. For best results, create a rectangular shaped planter that can be divided in half so you can plant two different types of flowers or plants in the space. Mark the outline of the planter with a spade to make excavating the base easier.
Step Three – Create a Base
Dig down about six inches deep to create a flat base of virgin soil for a good, solid base. Make sure that the base is level, removing any type of sloping as you dig the hold. To create a more stable base, fill in the area with about three inches of what is known as paver base, a combination of dust and crushed stone. This will help keep your structure level as you build.
Step Four – Post Level Lines
Use stakes and string to create level lines that you can use to check the depth and the structure that you are building throughout the rest of the project. Put stakes every two feet and at each corner of your Scituate home improvement project. Go around the entire perimeter of the space and check the lines as you go to make sure they remain level. Dig a little or add more fill materials until the entire base is leveled.
Step Five – Compact and Level the Base (Again)
Use a tamper to compact the fill materials down into the base. Make sure to keep checking the distance from the base itself to the level lines that you posted on stakes to make sure that the base remains level. Now you can add additional layers of paver base and tamp each one in until the depth of the base that you dug is half the thickness of the pavers you are going to use, plus one inch.
Step Six – Leveling Sand
The final fill layer is to add about an inch of leveling sand. Make sure it gets distributed evenly by using a steel rake to push it around. Now the depth of the bed should be half the depth of one of your paver stones.
Step Seven – Lay the Foundation
The first layer in your attempt to build a stone planter should checked with a level as you go to make sure that the leveling sand was put in properly. You can use a rubber mallet to set the block into the sand and then check it with a level again. Every time you add a new block, check the level of it across the last block to make sure the entire project is level within itself.
Step Eight – Start Stacking
The next phrase of this project to improve curb appeal is to start stacking your stone materials. You can choose to do a dry stack method if the finished project will be less than three feet in height, or you can use masonry construction adhesive or another type of adhesive product for extra strength and durability. Stagger the joints on each layer to give it a traditional stacked look and continue building up each layer until you get three layers from the top of the cap layer.
Step Nine – Stone Fill
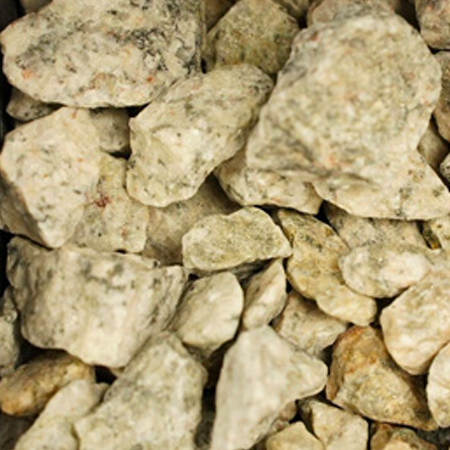
To provide a drainage for your planters, fill the planters about three quarters of the way with gravel or larger landscaping stone. This will also prevent your planters from retaining water, which can lead to cracking in freezing in cold weather. Add a layer of landscaping fabric over top of each planter and use scissors to trim it down. Leave enough of an edge for the fabric to be held between the next layer of your planter.
Step Ten – The Final Layers
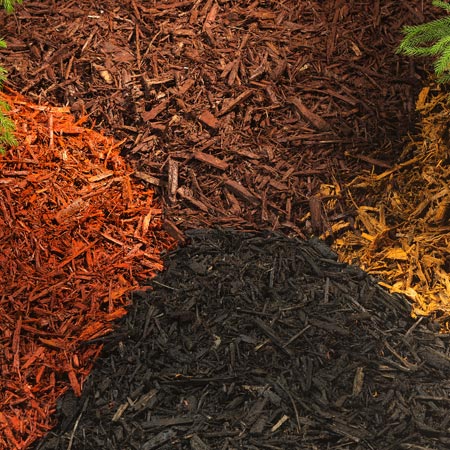
Lay the final two layers of natural stone or paver materials on top of the landscaping fabric and then add the final cap layer with the good-side finish facing up. Pour potting soil inside of the planters and then plant in your favorite flowers. Consider adding another eight inches to a foot of height to the furthest back planter to create a stepped planter or multi-tiered planter for an even more dazzling effect.
Where to Get Materials for Scituate Home Improvement
J&J Materials has two locations in Southeastern Massachusetts and their delivery range reaches out to Scituate on the east and Providence out to the west. Choose all of the materials that you need for your weekend hardscaping projects and J&J Materials will deliver. Stop by our stone yard to see all of the options available. We have a wide variety of textures, colors, shapes and styles that can help you to build a stone planter and improve curb appeal in just a single weekend!