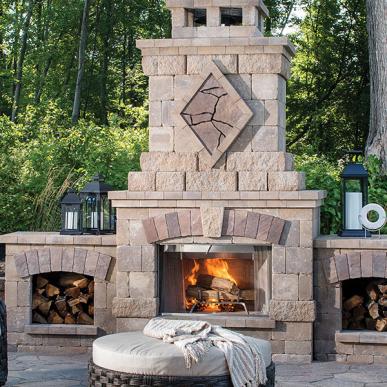
See also: Belgard & Pavestone Firepits
Location:
 Choose a location for your Fire Pit that isn’t close to trees, shrubs buildings or anything that may catch fire. Also, be sure there are no underground utilities, such as wires, cables or pipes. Check with your city or Town Hall/Fire Marshall for ordinances or regulations regarding open fires. Building codes may require minimum setback distances from structures or outdoor furniture.
Site Layout for Round Kit:
Dry-lay a ring of (16) sixteen blocks. Place the blocks side to side until you have a perfect circle positioned where you want the finished Fire Pit to be. You may have to adjust the blocks slightly to create the circle. Now mark the outside diameter of the Fire Pit (approximately 48”) with a spade or flat edge shovel. You can also create the circle using a grade stake and string line. Hammer the grade stake at the center-point of the Fire Pit site and tie the string to the grade stake. Measure out from the grade stake a minimum of 24” (the outside dimension or diameter of the Fire Pit is 48” and the radius of the circle is 24”). You can mark the outside of the circle or circumference of the Fire Pit with marking paint or a garden hose.
Site Layout for Square Kit:
Dry-lay a square of (8) eight pieces. Place the blocks end to end until you have a perfect square positioned where you want the finished Fire Pit to be. You may have to adjust the blocks slightly to create the square. Now mark the outside edge of the Fire Pit so that it measures approximately 40” x 40”.
Drainage and Placement:
Using a spade or flat edge shovel, dig a straight sided hole a minimum of 12” deep. Remove all the soil so that there is a flat hole on the bottom. Take a hand tamper and compact the soil at the bottom of the hole. Now place the ¾” clean drainage stone to a depth of 4”. Compact the stone with the hand tamper. Next, place 4” of the concrete sand on top of the compacted drainage stone. Compact the sand, making sure to get it as level as possible.
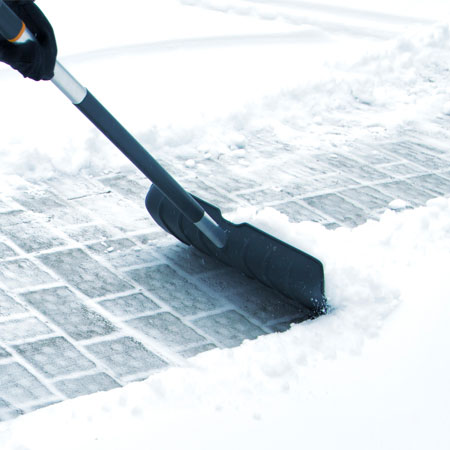
Place (16) sixteen Countryside Wall Blocks on the sand for a circle Fire Pit or (8) eight Rumble Wall Blocks for a square Fire Pit. Stone dust the base and level. Use a (2) two foot level to place and level individual blocks. Make sure the first block is level both side to side and front to back. When placing the first course of block, it is best to use a rubber mallet to level each block as it is being installed. Once the first course is set, do a final check for level with a (4) four foot level by placing the level across the width of the Fire Pit. This will help to “set” each block and help to prevent movement due to freeze-thaw during the winter and early spring months.
Moveable or Permanent:
The Kit can be set up as either moveable or permanent. For a moveable pit, stack the remaining courses making sure to stagger (do not place directly in line) the joints with the course below. A moveable Fire Pit is a good idea if you are undecided where the Fire Pit would look or work best for you. This is also the appropriate option in the event that you can’t have a permanent structure in place.
For permanent placement, follow the instructions above and then place (2) two generous beads of the included adhesive between courses. The first Bead should be about 1” in from the outside radius and the second Bead about 1” in from the inside edge, thus forming two rows along the block. No beading is needed on the last course laid, as it isn’t necessary for it is the top of your Fire Pit.
For Ground Installation:
Building Supplies Needed:
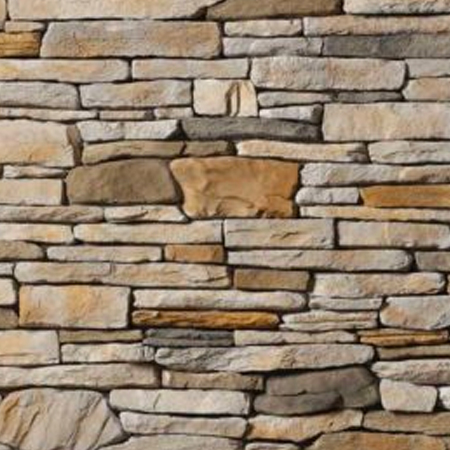
- “Countryside” wall stones (circle pit)
- “Rumble” wall stones (square pit)
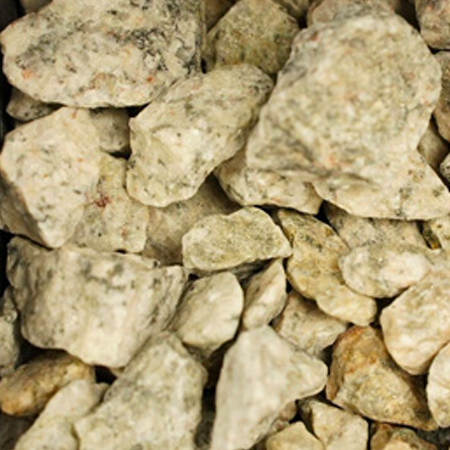
- ¾” clean drainage gravel
- Coarse sand (concrete sand)
- Construction adhesive
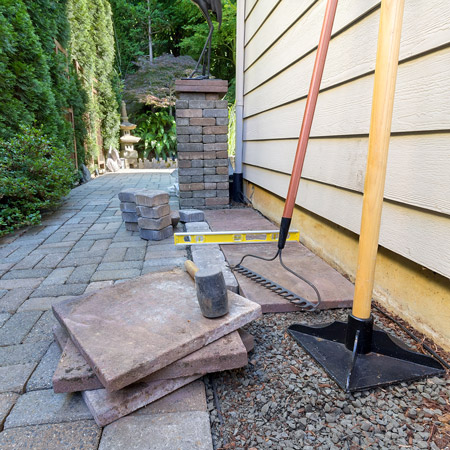
Recommended Tools:
- Flat edge shovel or spade
- Steel rake
- Hand tamper
- Level
- Rubber mallet
- Caulking gun (for construction adhesive)
For Patio Installation:
- Building Supplies needed:
- “Countryside” wall stones (circle pit)
- “Rumble” wall stones (square pit)
- Coarse sand (concrete sand)
Recommended Tools:
- Caulking gun (for construction adhesive)
Ground Installation